Creating your own wedding flowers can be a rewarding and meaningful experience. Beyond saving money, it gives you the chance to pour your personality and love into every bloom and petal. Whether you’re dreaming of a romantic rose-filled bouquet or a rustic arrangement of wildflowers, DIY wedding flowers might feel intimidating at first. But with the right guidance and tools, even beginners can create stunning arrangements worthy of their big day.
The beauty of DIY wedding flowers lies in their personal touch. While professional florists have years of experience, there's something heartwarming about knowing you made your own. Not to mention, it can open up room in your budget for other wedding essentials. Plus, if you’re someone who loves crafting or creative projects, this will be a perfect (and memorable) challenge for you.
If you’re getting started, one of the most crucial steps is understanding what exactly you need. The thought of needing specialized tools or complicated techniques might discourage some, but the list of wedding flower tools for beginners is refreshingly simple. With just a few basics, you’ll be well on your way to making centerpieces, bouquets, or even elaborate floral arches.
Another key to success is sourcing your flowers wisely. WholesaleFlowers.net is one example of where you can find affordable and fresh options without breaking the bank. They offer a wide variety of flowers so you can choose blooms that match your theme and color palette. Buying in bulk can cut down costs while guaranteeing consistency in your arrangements.
At the heart of DIY wedding arrangements is flower care. Understanding how to prepare and maintain flowers makes all the difference in their longevity and vibrancy. Many beginners overlook this step, but it’s crucial if you want your blooms to look as fresh on the altar as they did when you opened the wholesale box.
Finally, DIY wedding flowers aren't just about the flowers themselves. The joy comes from planning, arranging, and seeing your vision come to life. This post will guide you through everything you need to know—from the essential tools and flower care tips to step-by-step how-to’s for creating your very own arrangements. By the end, you’ll have the confidence to take on your wedding flowers like a pro. Let's get started!
Choosing the Right Flowers for DIY Wedding Arrangements
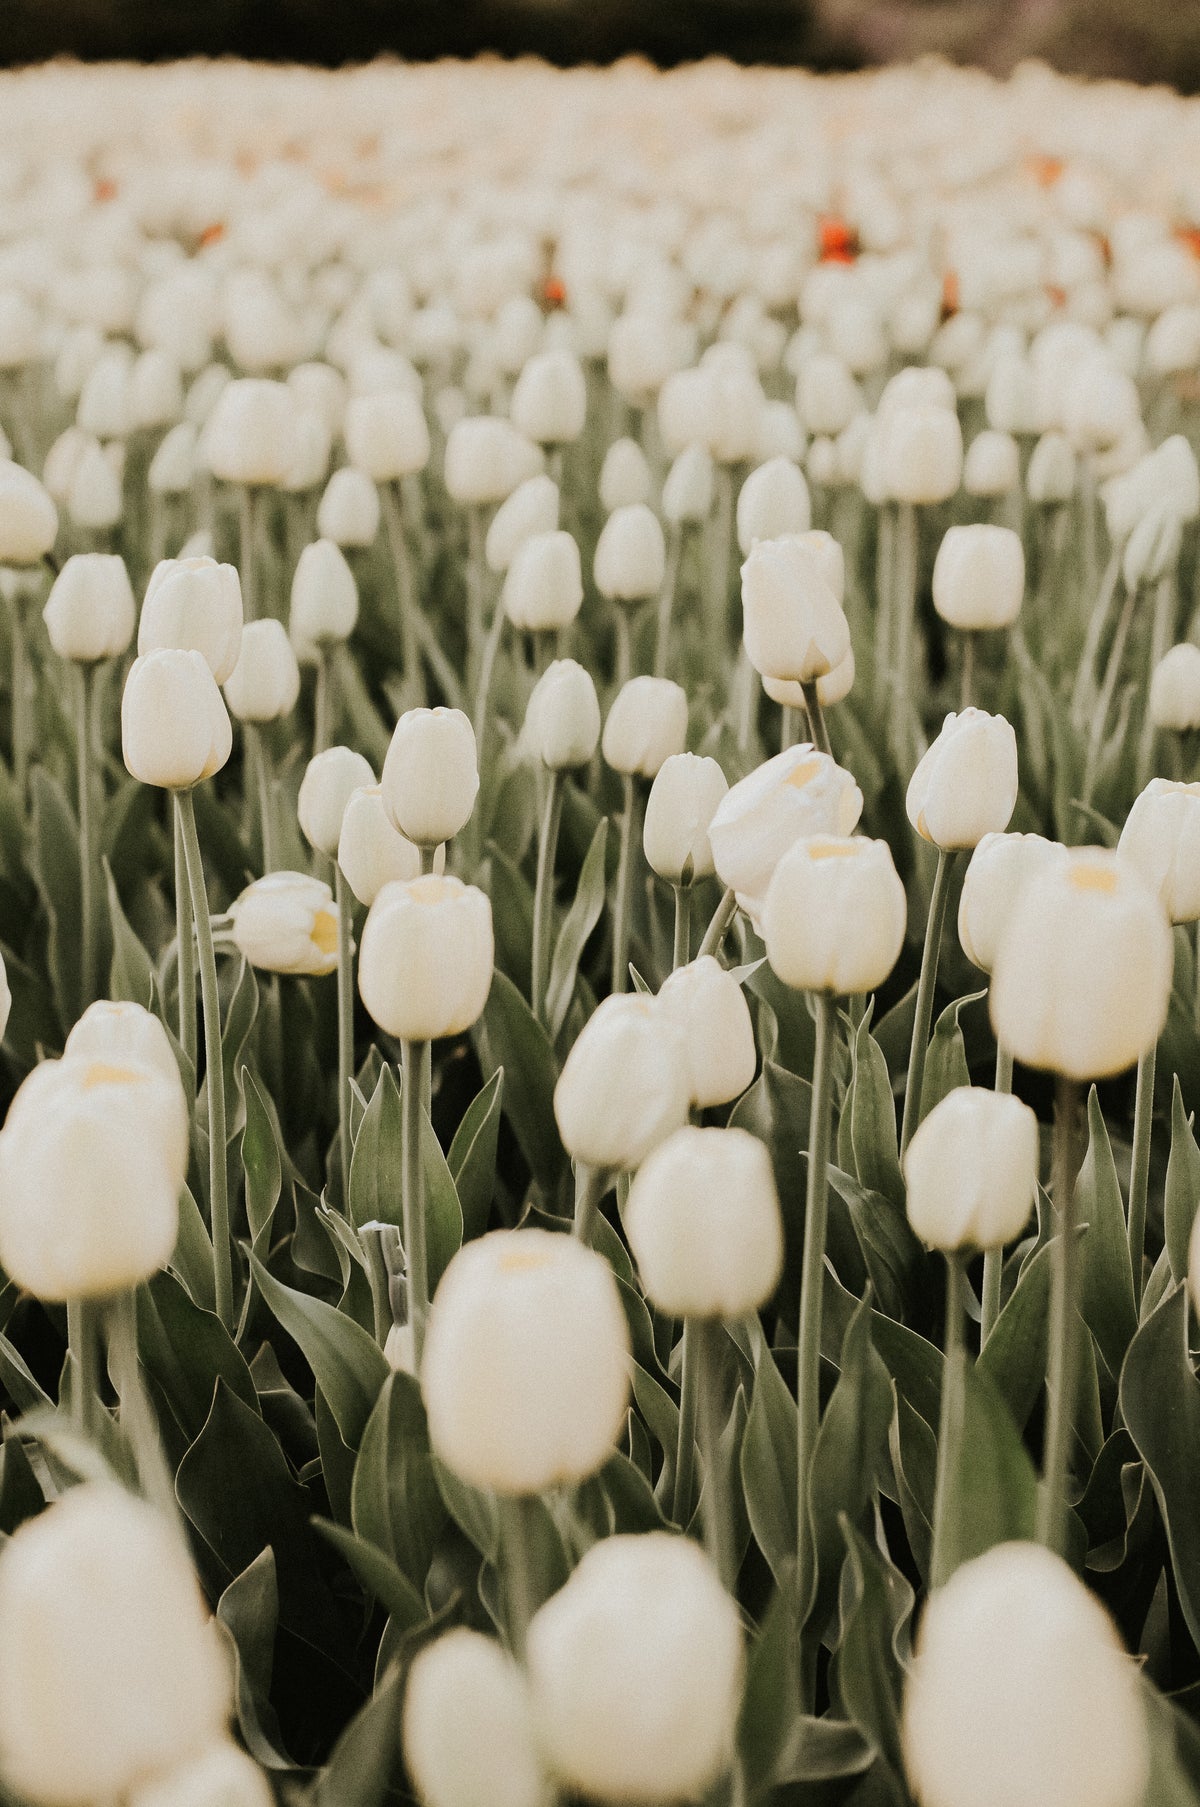
When it comes to DIY wedding flowers, your first decision is selecting the flowers you want to feature in your arrangements. Start by considering the overall theme and color scheme of your wedding. Are you going for a soft and romantic vibe? Or do you prefer something wild and bohemian? Your flowers will set the tone for everything else.
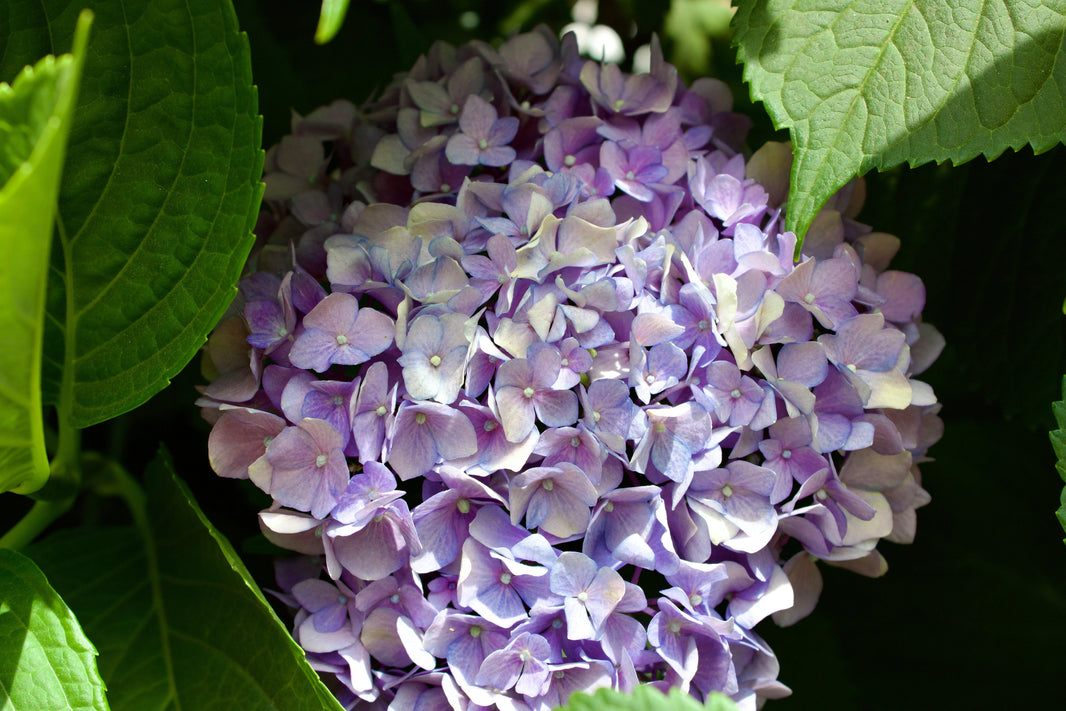
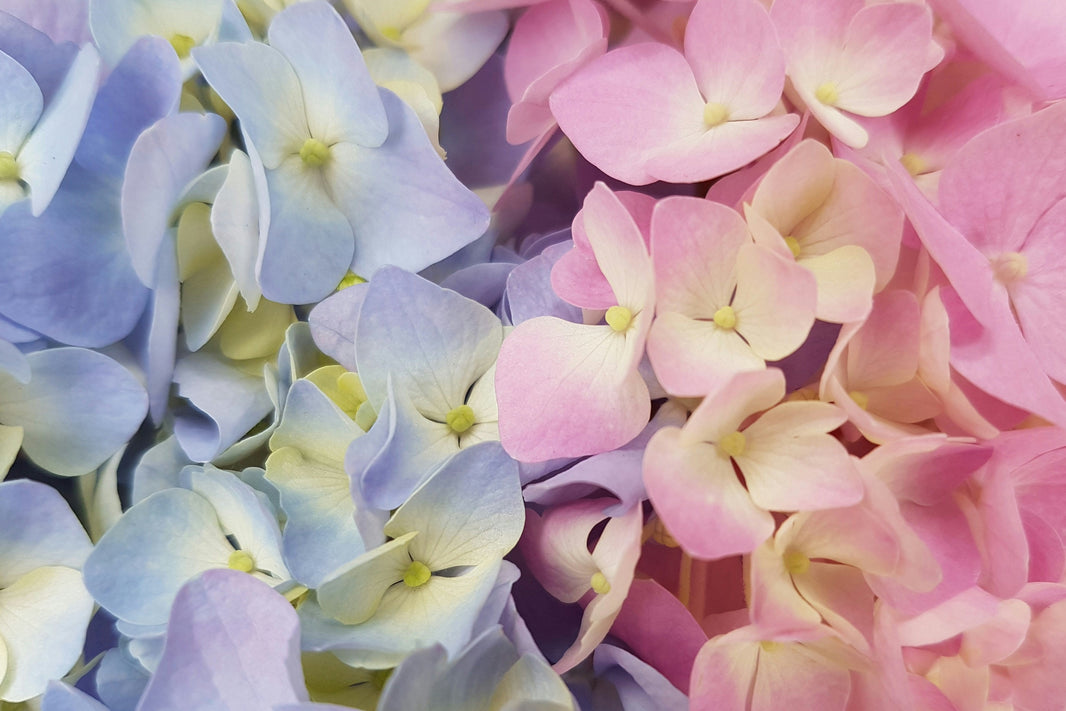
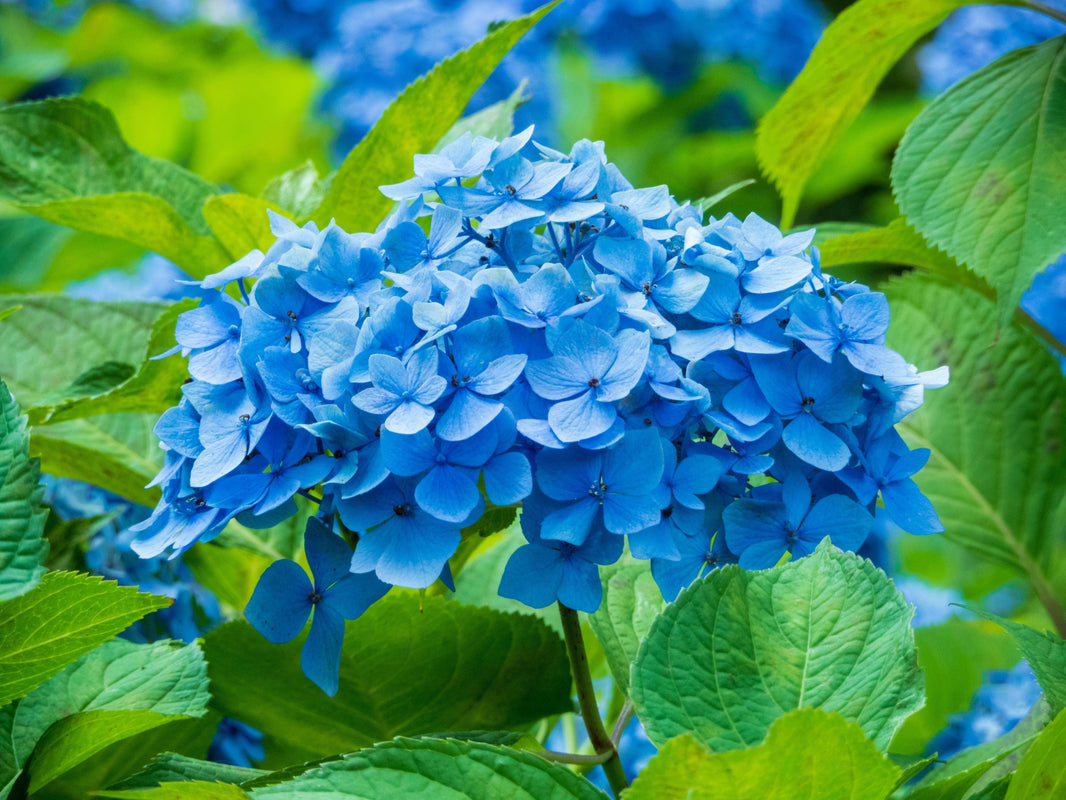
A popular beginner wedding flower tip is to stick with blooms that are easy to work with, such as roses, carnations, or hydrangeas. These flowers are not only sturdy, but they’re also available in countless colors, making them versatile for any style. Adding greenery, like eucalyptus or ferns, provides texture and balance to your arrangements.
Another factor to consider when choosing your blooms is their seasonality. Some flowers are significantly more affordable and fresher when they’re in season. For example, peonies are a springtime favorite, while dahlias shine in late summer and early fall. Researching seasonal options or browsing through wholesale suppliers like WholesaleFlowers.net can help you find the perfect options within your budget.
When buying flowers in bulk, always order extra stems. This ensures you have enough to fill all your arrangements, even if a few stems aren’t up to par. Plus, having a backup will help reduce stress on your flower arrangement day.
Texture is another important aspect to think about when selecting your flowers. Combining soft blooms, like ranunculus, with spiky or unique shapes, like thistle, creates visual interest. You can mix delicate flowers with robust greenery for arrangements that are dynamic and balanced.
If working with exotic flowers excites you, take the time to learn about their care and handling, as some may require extra attention. For instance, orchids or protea have specific water and temperature needs to keep them fresh. While these flowers may demand more effort upfront, their results can be breathtaking.
When looking for inspiration, scroll through Pinterest, wedding magazines, or Instagram accounts featuring real weddings. Seeing how different flower combinations work together will spark ideas for your personal selections. And don’t forget WholesaleFlowers.net for high-quality blooms that arrive fresh at your doorstep.
Lastly, don’t shy away from experimenting. Before finalizing your order, make a small practice arrangement to see how the flowers work together. Sometimes, what looks perfect in your imagination might need fine-tuning in real life.
Essential Tools for DIY Wedding Flowers
Creating gorgeous DIY wedding flowers is impossible without the right tools. A good toolkit will not only save you time but also ensure your flowers are handled properly, keeping them fresh and beautiful for the big day.
First on the list is a quality pair of floral shears. Unlike regular scissors or kitchen knives, floral shears are crafted for cutting flower stems without crushing them. This is important, as clean cuts allow the stems to absorb water more effectively, keeping your flowers hydrated for longer.
Next, a floral knife comes in handy for precise cuts and removing excess greenery from stems. Many professionals swear by floral knives for their versatility. Beginners may need some practice, though, as they require a steady hand and care to avoid injury.
Floral wire is another must-have when working on DIY wedding arrangements. Use it to secure delicate stems, attach flowers to arrangements, and even shape intricate designs. It’s especially useful for adding stability to bouquets or garlands.
Flower tape, also known as floral tape, works alongside the wire to bind stems together. This green tape is stretchy and self-adhesive when stretched, giving a seamless and polished finish to your arrangements. For tighter bouquets, floral tape is a lifesaver.
If you’re creating centerpieces or larger designs, floral foam is an essential element. This foam holds water and keeps your flowers in place, allowing for versatile and long-lasting displays. It’s particularly useful for table arrangements and floral arches where stability is key.
A floral centerpiece vase, buckets, or even mason jars play significant roles in your process. These hold arrangements in place while keeping the flowers well-hydrated. Be sure to have enough containers for all your creations.
Ribbon or twine is perfect for adding a decorative touch to your bouquets. Satin ribbons are classic for weddings, while rustic twine can complement a more natural, bohemian style. These small details make the final arrangements feel complete.
Don't forget gloves if you’re working with thorny flowers like roses. Protecting your hands is vital when handling stems for hours on end. Comfort is important when finalizing details for DIY wedding flowers.
Lastly, keep a spray bottle filled with clean water nearby. A light misting keeps flowers hydrated as you work, especially when arranging on warm days. Combined with flower food packets (which extend the life of cut blooms), you’ll have the tools you need for fresh, vibrant results.
Once you've gathered your basic tools, you're ready to start experimenting with practice arrangements—a vital step before tackling your wedding day flowers. Let's move to the next stage of flower preparation and maintenance!
Preparing Your Flowers for Arrangements
Properly preparing your flowers before you start arranging them is a crucial step. This process ensures that your blooms remain fresh, vibrant, and photogenic throughout your wedding day. Many beginners underestimate the importance of flower preparation, but it’s one of the most valuable beginner wedding flower tips to follow.
The first step in preparing your wedding flowers is to unpack them carefully as soon as they arrive. If you’ve purchased your blooms from a supplier like WholesaleFlowers.net, they’ll likely arrive boxed and wrapped to protect them during transit. Gently unwrap each bundle, taking care not to tug at delicate petals or stems.
Once unpacked, you'll want to trim the stems immediately. Use sharp floral shears for a clean cut, and snip the stems at a slight angle. This angled cut allows the stems to absorb water more efficiently. Remember, crushed or jagged cuts can block water uptake, leading to wilted flowers.
After trimming, remove any leaves or foliage that would sit below the waterline in your buckets or vases. These submerged leaves can decay quickly, creating bacteria that shorten the lifespan of your flowers. Stripping unnecessary foliage also gives your arrangements a cleaner appearance, setting a good foundation for your DIY wedding arrangements.
Next, place your stems in buckets or vases filled with fresh, lukewarm water mixed with flower food. Flower food is a simple but essential tool for keeping your blooms fresh. It nourishes the flowers while preventing bacterial growth in the water. If you’re working with multiple types of flowers, group similar blooms together during this stage so they can hydrate under optimal conditions.
Allowing your flowers to rehydrate is key. Flowers need at least a few hours (and ideally overnight) to drink water and refresh after shipping or storage. This step revives their full color and firmness, making them easier to manipulate when arranging. Keep the buckets in a cool, shaded area while they rehydrate, away from direct sunlight or drafts.
For certain types of flowers, like roses, you may need to remove outer guard petals to reveal their inner beauty. These guard petals protect the blooms during transit, but they can appear torn or discolored. Peeling them off gives your arrangements a polished look without compromising the integrity of the flowers.
Lastly, periodically mist the blooms with water during the preparation phase. Hydration isn't just about fresh stems in water—it also involves keeping petals and leaves moist, especially in dry or hot climates. A quick spritz with a clean spray bottle can make a big difference in preserving the freshness of your wedding flowers.
By dedicating time to properly prepping your flowers, you set a solid foundation for creating stunning and long-lasting arrangements. With your blooms hydrated, trimmed, and ready to go, you’re all set to move on to one of the most exciting parts—assembling a gorgeous bridal bouquet.
Step-by-Step Guide to Creating a Bridal Bouquet
The bridal bouquet is the crown jewel of wedding flowers. It’s a centerpiece that reflects your personal style and sets the tone for your overall floral design. For beginners, creating a bridal bouquet might seem daunting, but with a step-by-step approach, you’ll be amazed by how simple—and enjoyable—it can be.
Step one is gathering all your materials and tools. You’ll need floral shears, floral tape, wire, and ribbon as your primary wedding flower tools. Lay out your flowers and greenery on a clean surface, organized by type. Having everything within arm’s reach makes the process flow smoothly and prevents unnecessary stress.
Begin by selecting a focal flower for your bouquet. This is usually the largest or most eye-catching bloom, like a rose, peony, or sunflower. Hold it in one hand and start building around it with complementary flowers and greenery. Add stems one by one, rotating the bouquet gradually to ensure balance and symmetry from all angles.
Instead of clumping similar flowers together, alternate between different types and textures. For example, you could pair soft, round blooms like hydrangeas with spikier greenery like eucalyptus. This creates a dynamic, layered look. Don’t be afraid to experiment—it’s all part of the creative process that makes DIY wedding flowers so special.
Once your bouquet reaches your desired size, secure it with floral tape. Wrap the tape tightly around the stems just above where your hand holds the bouquet. This step locks your arrangement in place, allowing you to adjust the length of the stems without disrupting the design.
Next, trim the stems with your floral shears to your preferred length. A good rule of thumb is to cut the stems evenly so the bouquet looks polished when it’s placed in a vase. Don’t cut too short if you plan on holding the bouquet for extended periods—it’s important that it feels comfortable in your hand.
For a finishing touch, wrap the stems in ribbon or twine to cover the floral tape. Satin ribbon adds an elegant touch, while natural twine complements rustic or boho weddings. Secure the ribbon with a small pin or a dab of hot glue for a seamless finish. This detail not only enhances the look but also ensures the bouquet is easy to carry.
Finally, store your finished bouquet in a vase filled with water until it’s time to use it. Keep it in a cool spot to maintain its freshness. With your bridal bouquet complete, you’ve mastered one of the most iconic DIY wedding arrangements. It’s a piece you can proudly carry down the aisle, knowing you created something beautiful and meaningful with your own two hands.
Creating Stunning Centerpieces
The centerpieces at your wedding reception are essential for setting the mood and making a statement. Just like your bouquet, creating DIY wedding centerpieces is a fun and fulfilling project. You don’t need to be a floral design expert—just a bit of creativity and some insider tips will go a long way.
Start by choosing the containers for your centerpieces. Vases, mason jars, wooden boxes, or even vintage pitchers can work, depending on your wedding style. Clear glass vases are a versatile choice and allow the flowers to take center stage. For rustic or boho weddings, wooden boxes or galvanized metal buckets create a chic, casual look.
Once you’ve selected your container, decide on the size and overall style of your centerpiece. Do you envision taller arrangements for dramatic effect or smaller, clustered designs that encourage conversation across the table? Knowing your desired outcome will help guide you when arranging your wedding flowers.
Floral foam can be incredibly helpful for beginners. It keeps the flowers hydrated while holding them securely in place. Place a pre-soaked block of floral foam in each container, trimming it to fit snugly. This will make arranging much easier and prevent your flowers from shifting around.
Select a focal flower for your centerpiece, just as you would for a bouquet. Place a few of these larger blooms first to establish the structure of the arrangement. Surround them with smaller flowers, greenery, and filler like baby’s breath or wax flowers. Combining different textures, heights, and bloom sizes creates depth and dimension.
One beginner wedding flower tip is to arrange the flowers in layers. Start from the middle and work outward, gradually filling in any gaps. Rotate the container as you go to ensure the centerpiece looks balanced from all sides. Adding greenery around the edges creates a soft, finished border for your arrangement.
Color coordination is key. Stick to your wedding’s color palette for a cohesive look, but don’t be afraid to incorporate a few pops of unexpected color for visual interest. For example, pairing blush pink roses with dark burgundy dahlias creates a beautiful contrast without clashing.
Finally, remember that less is often more when it comes to DIY wedding arrangements. Overcrowding your centerpiece can make it look messy and chaotic. Instead, focus on creating a clean, refined design that reflects your personal taste. Once completed, store your centerpieces in a cool place until they’re ready to be displayed.
Mastering centerpieces is a rewarding step in your DIY wedding flower adventure. Whether they’re simple or elaborate, the effort and love you put into these arrangements will be a highlight for both you and your guests.
Flower Care Tips for Long-Lasting Arrangements
Taking proper care of your wedding flowers from the moment they arrive is essential for ensuring they look their best on your big day. While it may seem complicated, following just a few basic flower care tips can make all the difference in keeping your arrangements fresh and vibrant.
One of the first steps is to understand how to handle your flowers upon delivery. If you’ve ordered from a reputable source like WholesaleFlowers.net, they're likely to arrive in excellent condition. Still, flowers experience stress during transit, so immediate care is necessary. Open the packaging carefully, and inspect the flowers for bruising or damage, removing any petals or leaves that appear wilted.
Always hydrate your wedding flowers as soon as possible. Place the stems in buckets or vases filled with clean, lukewarm water mixed with flower food. The flower food not only nourishes the blooms but also prevents bacteria from forming in the water—a common culprit for premature wilting.
Temperature control plays a significant role in preserving your flowers’ longevity. Store your arrangements in a cool area, away from direct sunlight, heat, or strong drafts. Avoid placing them near fruits like bananas or apples, which emit ethylene gas that can cause flowers to age more quickly.
If you're working with delicate blooms like tulips or lilies, keep an eye on their opening stages. Some flowers, like lilies, arrive as closed buds and open gradually in response to warmth and light. To control their blooming process, store them in a cooler environment until you’re ready to arrange them.
Refreshing the water is another vital flower care tip. Even if you’ve used flower food, the water can become murky or depleted of nutrients over time. Change it every couple of days, trimming the stems slightly each time to encourage optimal hydration. This practice keeps the flowers looking as fresh as possible.
Misting the petals and leaves can also help maintain their appearance, especially for flowers that are prone to drying out. Use a light hand and clean water to avoid over-saturating the petals, as excessive moisture can lead to browning or mold growth. A simple spray bottle will do the trick.
Lastly, if you’re not arranging the flowers right away, allow them to "rest" in water for several hours before cutting or manipulating the stems. This downtime allows the blooms to recover from dehydration during transit and gives you more flexibility when creating your designs.
By following these beginner wedding flower tips, your arrangements will stay fresh and beautiful throughout your celebration. The effort you invest in caring for your flowers will truly shine in the photos and memories of your special day.
Arranging Flowers for a Floral Arch or Backdrop
A floral arch or backdrop can be a breathtaking focal point for your wedding ceremony or photo area. Creating one yourself may sound ambitious, but with the right planning, tools, and techniques, it becomes a fun and manageable project. Follow these beginner wedding flower tips to help you design a stunning statement piece.
Begin by selecting the structure for your floral arch. Many couples choose a wooden or metal frame, as these are sturdy and easy to decorate. For backdrops, consider lattice panels, fabric drapes, or even a bare wall covered with wire mesh. Decide whether you want a full-coverage floral design or a more minimalist look with clusters of blooms and greenery.
When it comes to wedding flower tools, floral foam or chicken wire are your best friends in providing stability to your arrangements. Attach these securely to your structure using zip ties or floral wire. With floral foam, pre-soak it thoroughly before placing it on the frame to keep flowers hydrated throughout the event. Chicken wire offers a more eco-friendly option for holding stems in place.
Choose a mix of flowers and greenery that complements your wedding theme. Larger, bulkier blooms like hydrangeas or sunflowers are great for filling space, while smaller flowers like roses and lisianthus add elegance and variety. Greenery, such as eucalyptus or ivy, helps balance the vibrant blooms and provides a cohesive look to the arrangement.
Start by adding greenery to form the base structure of your arrangement. Cover the frame or mesh evenly, ensuring no large gaps are visible. This creates a lush foundation for your DIY wedding flowers, giving you a canvas to arrange smaller blooms on top.
Once the greenery is in place, insert your focal flowers. These are the largest and most eye-catching blooms, strategically placed where you want to draw attention—at the top corners, the middle, or cascading down the sides. Work in layers, filling in the gaps with secondary flowers and filler greenery to create depth and texture.
When attaching flowers, be mindful of the weight. Flowers near the top of the arch should be lightweight to prevent stress on the structure. Secure everything tightly with floral wire, especially in outdoor venues where wind could shift your arrangements.
Finally, step back frequently to view your arch or backdrop from a distance. It’s easy to focus on small details up close, but viewing the whole structure ensures your design looks balanced and cohesive from every angle. Once you’re happy with the result, your floral arch or backdrop is bound to impress!
Creating a floral arch might take some practice, but it’s one of the most rewarding DIY wedding arrangements you can tackle. Your efforts will stand as a testament to your creativity and add a personalized touch to your big day.
Budget-Friendly Tips for DIY Wedding Flowers
One of the biggest advantages of DIY wedding flowers is their potential to cut costs while still achieving a beautiful result. With a little creativity and planning, you can stick to a budget without compromising on quality or style. Here are some practical, money-saving tips to help you manage your floral expenses.
Firstly, buy your flowers in bulk. Wholesale suppliers like WholesaleFlowers.net are excellent resources for fresh blooms at a fraction of the cost you’d pay at a retail florist. Buying large quantities not only saves money but also ensures consistency in color and quality across your arrangements.
Select flowers that are in season. Seasonal blooms are often more affordable and readily available. For example, opting for tulips in the spring or chrysanthemums in the fall can make a big difference to your budget. If you’re set on out-of-season flowers, consider using them sparingly as accent pieces rather than the main feature.
Opt for sturdy flowers that don’t require as much care or preparation. Carnations, roses, and chrysanthemums are not only affordable but also easy to work with, even for beginners. Pair them with inexpensive greenery like ferns or eucalyptus for a balanced and full look.
Repurpose floral arrangements throughout your wedding day. For example, use bouquets from the ceremony to double as table centerpieces during the reception. Similarly, a floral arch can serve as both a ceremony backdrop and a photo booth station later in the evening. Multi-purpose designs help you get the most out of your DIY wedding flowers.
DIY doesn’t mean you have to do everything from scratch. There are plenty of pre-arranged floral kits or bundles available online through wholesale suppliers. These kits often group popular wedding flowers and greenery together based on color theme, saving you time and effort without exceeding your budget.
Another great beginner wedding flower tip is to mix artificial with real flowers. High-quality faux blooms can be used to add volume to arrangements without the cost or maintenance of fresh ones. For instance, layering silk peonies within a fresh greenery garland can save money while still looking elegant.
Cut down on elaborate tools and containers. While floral wire, tape, and scissors are essential wedding flower tools, you don’t need expensive vases or ornamental holders for your arrangements. Simple mason jars, recycled bottles, or even spray-painted tins can work beautifully and contribute to a rustic-chic aesthetic.
Don’t overcomplicate your designs. Simple arrangements with a focus on a few key flowers and some greenery can be just as stunning as more elaborate setups. Minimalist bouquets and centerpieces with clean lines and cohesive colors are trendy and often more cost-effective.
Finally, remember to dedicate time to practice. While it may not save money upfront, practicing your arrangements reduces stress and prevents last-minute mistakes, which can lead to wasted materials. By following budget-friendly tips and planning ahead, you’ll achieve stunning DIY wedding arrangements without breaking the bank.
Troubleshooting Common DIY Flower Challenges
Like any DIY project, creating wedding arrangements can present challenges, especially for beginners. Preparing for potential issues ahead of time can save you stress and help ensure your wedding flowers turn out beautifully. Here are some common problems and practical solutions to overcome them.
A frequent issue is wilting or drooping flowers. This often occurs when blooms aren’t properly hydrated or kept at the right temperature. If you notice stems looking limp, recut them at an angle and place them in clean, lukewarm water with flower food. Placing them in a cool spot can help them recover quickly. Hydration is especially critical for delicate blooms like ranunculus or anemones, which can wilt faster than sturdier flowers.
Another common problem is working with flowers that arrive closed or haven’t fully bloomed yet. This is typical for roses, lilies, and peonies. To encourage blooming, place the flowers in a warm room but out of direct sunlight. Gently encouraging the petals to open with clean fingers can also help. Be patient—some blooms may take a few hours to fully open.
Bruised or damaged petals are another challenge. This can happen during transport or handling. If you spot imperfections, gently peel away the outer “guard” petals, which are meant to protect the blooms. For larger tears or discoloration, try arranging the flowers in a way that hides the blemishes. This trick works especially well in compositions like bouquets or centerpieces.
Flowers that don’t stay secure in your arrangements can be frustrating. With intricate designs like a floral arch or bridal bouquet, stems sometimes slip out of place. To prevent this, make sure you’re using the right wedding flower tools, such as sturdy floral tape and wire. For larger structures, zip ties or floral foam can provide the extra reinforcement you need to keep everything in place.
Fading colors or browning edges can quickly detract from the beauty of your arrangements. This is often caused by sitting in direct sunlight for too long or exposure to heat. To fix this, trim browned edges with sharp scissors and spray the blooms lightly with water. Always keep your completed arrangements in a cool area until it’s time to put them on display.
If you run short on flowers or greenery at the last minute, don’t panic. Simple fillers like baby’s breath or eucalyptus can stretch your arrangements further without looking out of place. Mixing in artificial flowers that match your real ones is another clever way to save the day while maintaining a cohesive look.
Lastly, don’t be hard on yourself if something doesn’t look exactly how you imagined. DIY wedding arrangements are a learning experience, and part of their charm lies in their uniqueness. With a little troubleshooting and practice, your designs will be stunning and meaningful.
Final Touches and Presentation Tips
After hours of careful preparation and arranging, the final touches are what truly make your wedding flowers shine. These small but impactful details can elevate your DIY wedding arrangements, bringing them from beautiful to unforgettable.
Start with the presentation. Ensure that all your vessels—vases, jars, or stands—are clean and polished. Dirt or fingerprints on glass can distract from the beauty of the flowers. A quick wipe with a microfiber cloth can make a big difference. For rustic-themed weddings, adding twine, lace, or decorative ribbons around the containers can provide a cohesive aesthetic.
Positioning is key when showcasing your wedding flower arrangements. Bouquets, for example, look best when placed in vases filled with a small amount of water to keep them hydrated before their big moment. Centerpieces should be set at a height that doesn’t obstruct conversation across the table—think low and wide designs.
Lighting can make or break the impact of your flowers. Soft, natural lighting enhances the colors and textures of blooms. For evening receptions, consider using string lights, candles, or lanterns to add a romantic glow to your arrangements. Placing a few votive candles around table centerpieces can create a warm, inviting atmosphere.
Enhance your arrangements with subtle embellishments to tie them into your wedding theme. Adding sprigs of herbs like lavender or rosemary can complement rustic or garden weddings. For a touch of luxury, consider metallic accents like gold leaves or jeweled pins inserted discreetly among the flowers. These details should enhance, not overpower, the beauty of the blooms.
When it’s time to showcase your DIY flower arch or backdrop, ensure it’s stable and secure. Test the structure with gentle shakes to make sure nothing moves out of place. To finish the look, you can drape fabric around the edges or weave fairy lights into the greenery for additional elegance.
Hydration is critical until the final moments. Misting arrangements with water can give them a fresh look, but be careful not to overdo it, especially if you’re using delicate flowers. Transporting your arrangements should also be done with care. Use sturdy boxes or carriers, and pad the flowers with tissue paper to prevent damage.
Lastly, take a moment to step back and admire your work. You’ve put time, thought, and creativity into these arrangements, and they’re a reflection of your personality and love story. Wrapping up your floral tasks with these final touches ensures your DIY wedding flowers are a polished and memorable part of your celebration.
The Final Word on DIY Wedding Flowers
Creating your own wedding flowers is a truly special experience. It’s more than just a cost-saving measure; it’s a labor of love that adds a unique, personal touch to your wedding day. By investing your time and effort into this process, you’re crafting more than just decor—you’re creating something meaningful and memorable.
With the right tools and a clear plan, even beginners can achieve stunning results. From understanding the basics of flower preparation to designing intricate arrangements, each step of the process builds on the last. Wedding flower tools like floral tape, wire, and sharp shears may seem small, but they’re invaluable in bringing your visions to life.
The joy of making your own arrangements, such as centerpieces, bouquets, and floral arches, lies in the flexibility and creativity it provides. There’s no one-size-fits-all approach, and that’s the beauty of it. Each bloom you arrange becomes part of your narrative and breathes personality into your celebration.
Flower care and preparation are just as important as the actual arranging. Taking the time to hydrate, trim, and store your flowers properly guarantees their longevity and vibrancy. These care practices, paired with thoughtful beginner wedding flower tips, make the process smoother and more enjoyable.
If budget is a concern, DIY arrangements provide plenty of cost-saving opportunities. WholesaleFlowers.net offers an excellent resource for purchasing fresh blooms in bulk, giving you access to a wide variety of flowers at affordable prices. Their selection ensures you’ll find the perfect match for your wedding theme, all while staying within budget.
For those worried about imperfections, remember that they often make your designs more unique and personal. Troubleshooting common challenges like drooping flowers or limited supplies is part of the DIY experience. The result is always worth the effort when you see your vision come to life on your big day.
Ultimately, wedding flowers are about more than just aesthetics. They carry symbolic meaning and set the tone for your celebration. Whether it’s an elegant bouquet you hold as you walk down the aisle or a vibrant centerpiece that brings your reception tables to life, these arrangements are bound to leave a lasting impression.
If you’re inspired to start your floral adventure, visit DIY wedding flowers at WholesaleFlowers.net to explore their All Flowers section. The possibilities are as limitless as your creativity, and with the right resources and tips, your wedding flowers will be nothing short of spectacular.